How to setup power monitoring virtual machine
Monitoring power consumption is crucial for making smarter decisions, reducing costs, and promoting sustainability. Whether you are managing a data center, building a smart home system, or running a renewable energy project, understanding your energy usage matters. A power monitoring virtual machine (VM) makes this easier by giving you a centralized platform where you can collect, analyze, and visualize energy data.
In this blog, we’ll walk you through setting up a power monitoring VM, covering essential tools, software, and configurations to streamline your energy management. Let’s get started and optimize your power monitoring setup!
Prerequisites
-
Virtual Machine Host You’ll need either VMware ESXi or Proxmox Virtual Environment installed on your server.
-
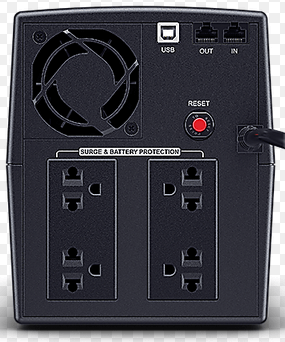
UPS (Uninterruptible Power Supply) Your UPS should have either a USB or Ethernet port for communication.
- Virtual Machine Image Typically downloadable from the manufacturer’s website, usually in .VMDK format.
System Overview
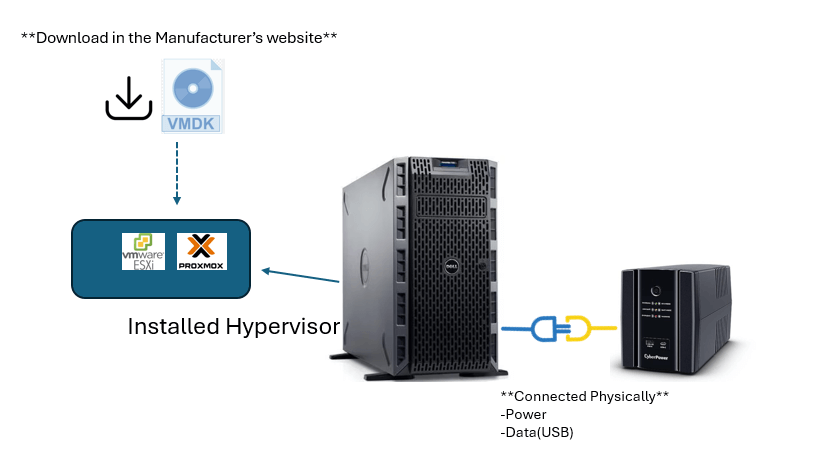
In this example setup:
-
We have a physical server connected to the UPS using both power and data via USB.
-
A hypervisor (ESXi or Proxmox) is already installed.
-
We’ll use the manufacturer’s utility image to deploy the power monitoring VM.
⚠️ Note: The monitoring system used in this guide supports VMware ESXi only.
Procedures for VMWare
-
Verify UPS Detection via SSH
- Login to your VMware host through SSH.
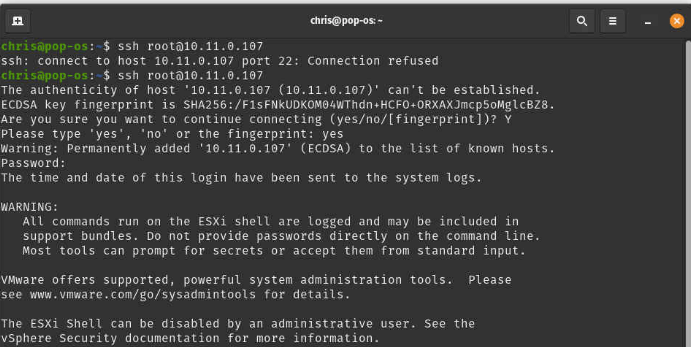
-
At the prompt, type
lsusb. This command will list all USB devices connected to your physical server.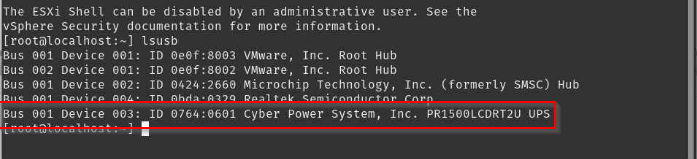
-
Download the VMDK image from the manufacturer’s website
For this example, the UPS manufacturer is Cyber Power Systems.
- If your UPS is connected via USB, download the first option.
- If your UPS is connected via the network, download the second (remote) option.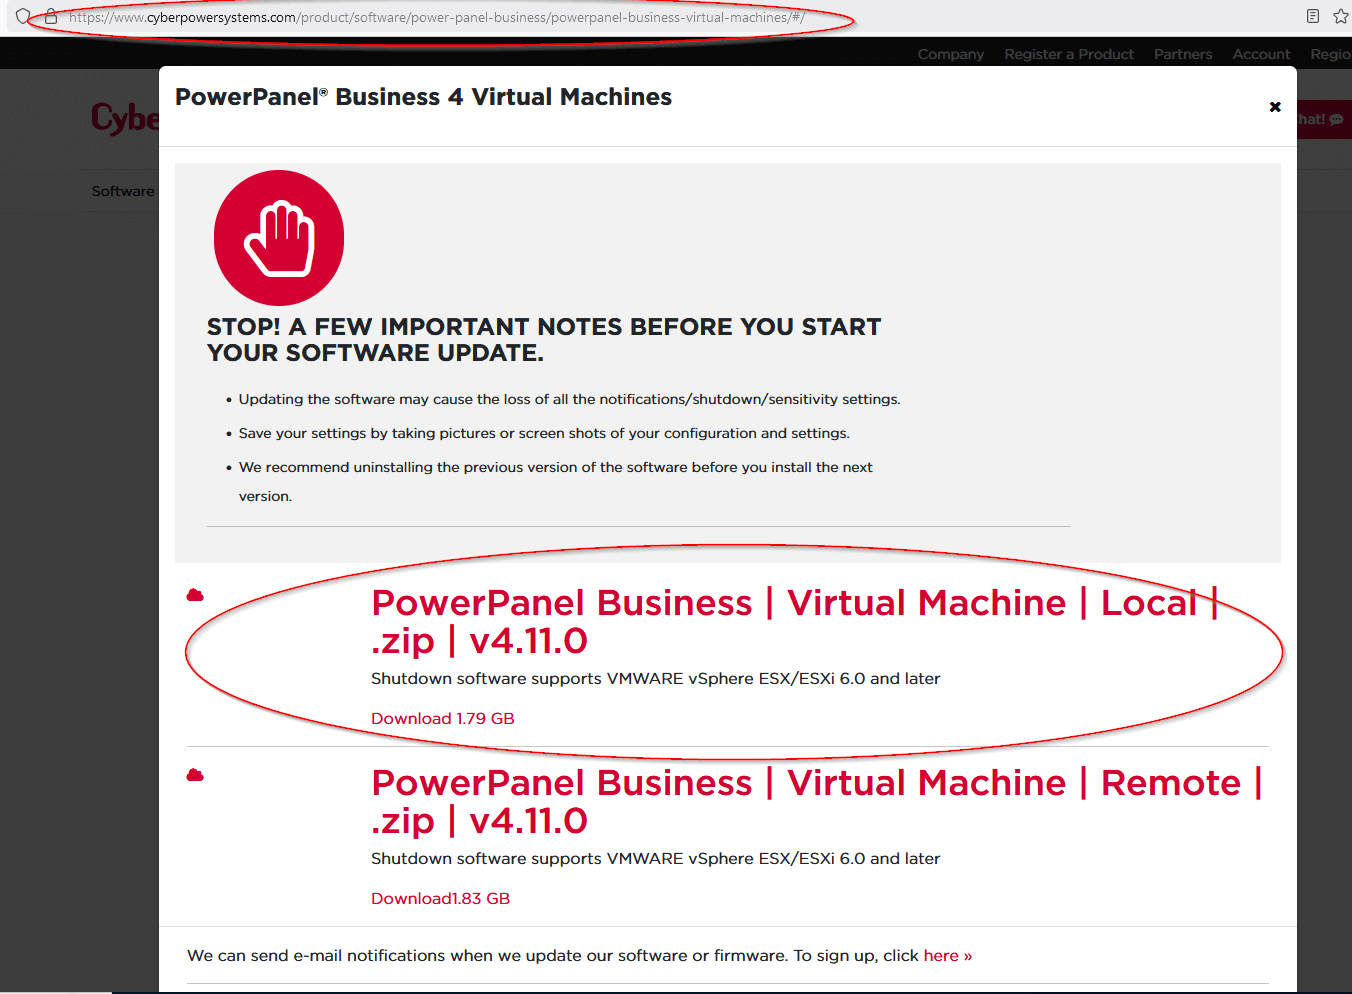
- After downloading
Unzip the file to extract the necessary image files. -
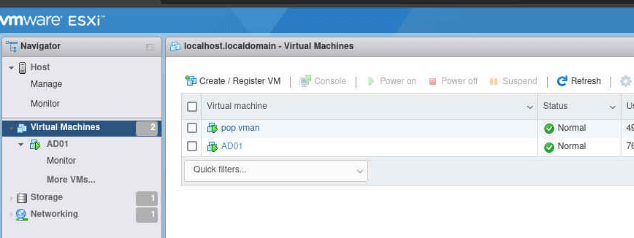
Login to the VMware web GUI and create a virtual machine.
Select Deploy a virtual machine from an OVF or OVA file, then click Next.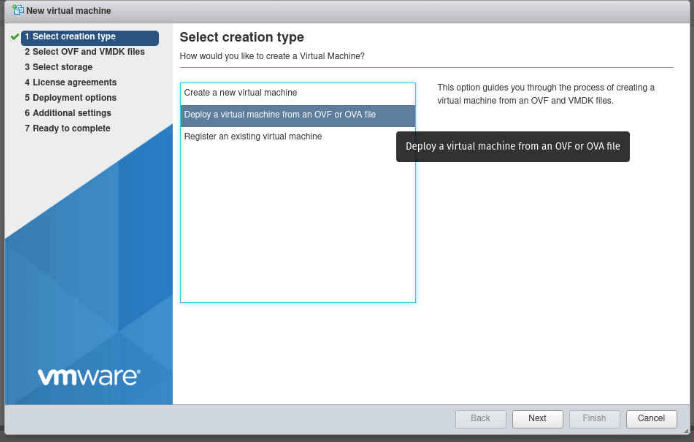
-
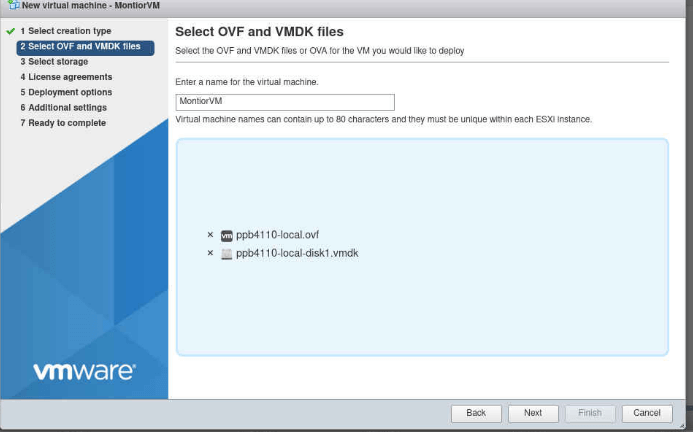
Enter the name of the virtual machine (e.g., MonitorVM).
- Drag and drop the.ovfand.vmdkfiles into the box.
- Click Next once they are loaded.
-
Choose the storage location.
For this example, we only have one option. Click Next.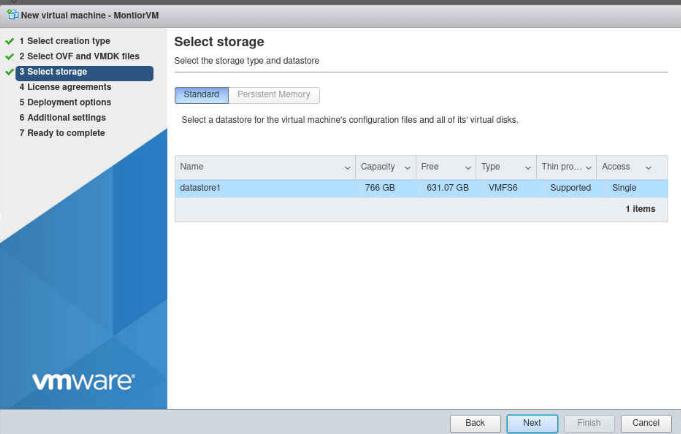
-
Select Thin Provisioning.
- Untick Power on automatically.
- Click Next.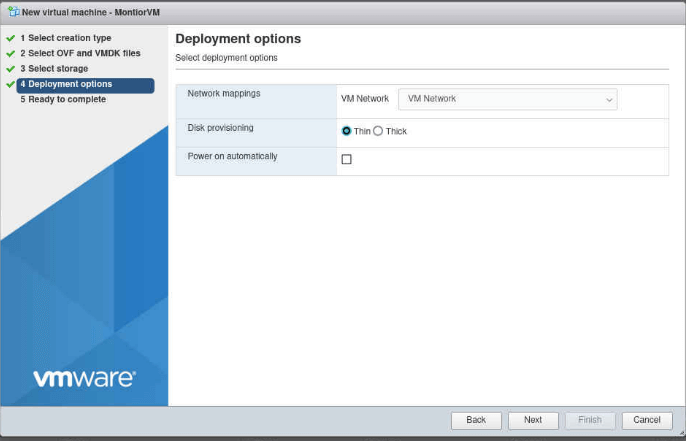
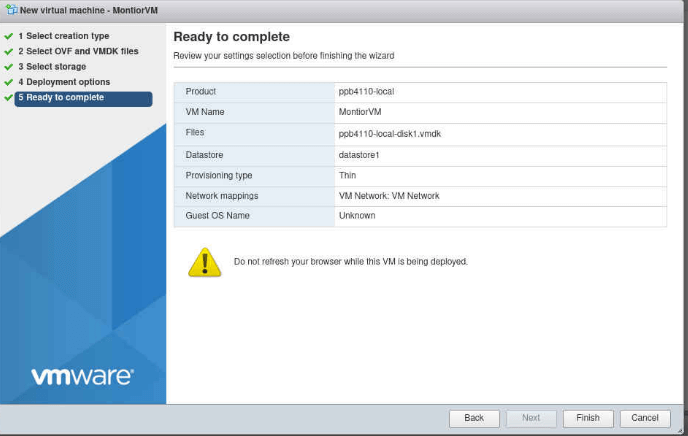
-
Review the configuration and click Finish.
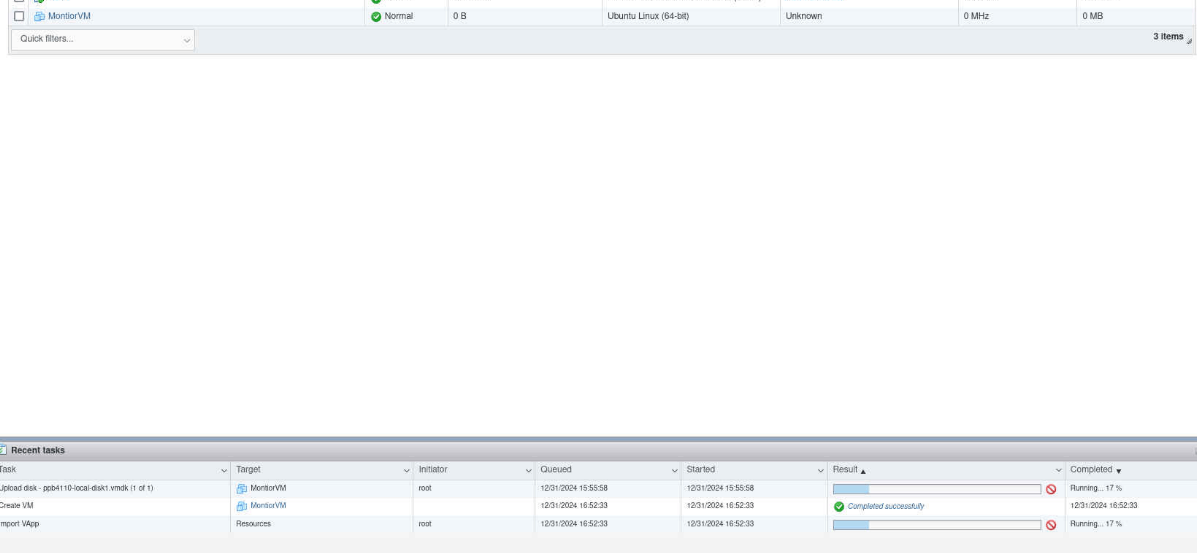
-
Wait for the virtual machine to finish creating.
-
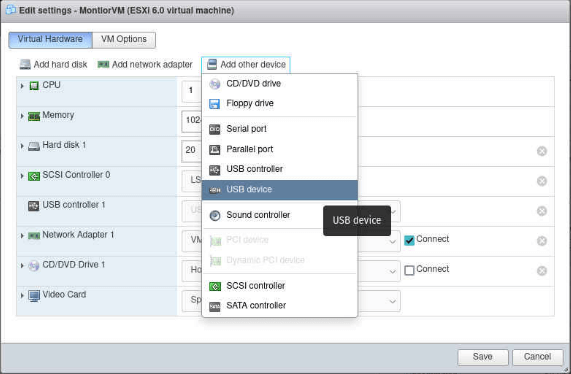
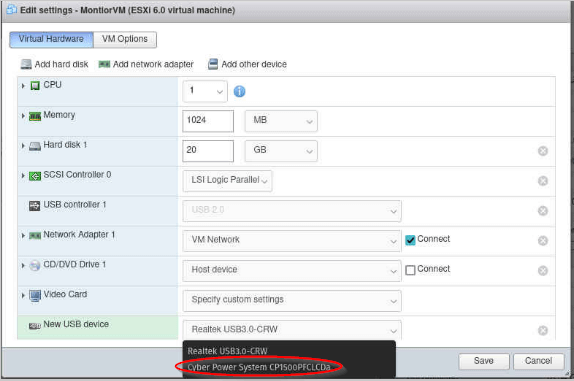
Configure the power monitoring VM.
- Add a USB device to the VM.
- Choose your UPS from the list.
- Click Save.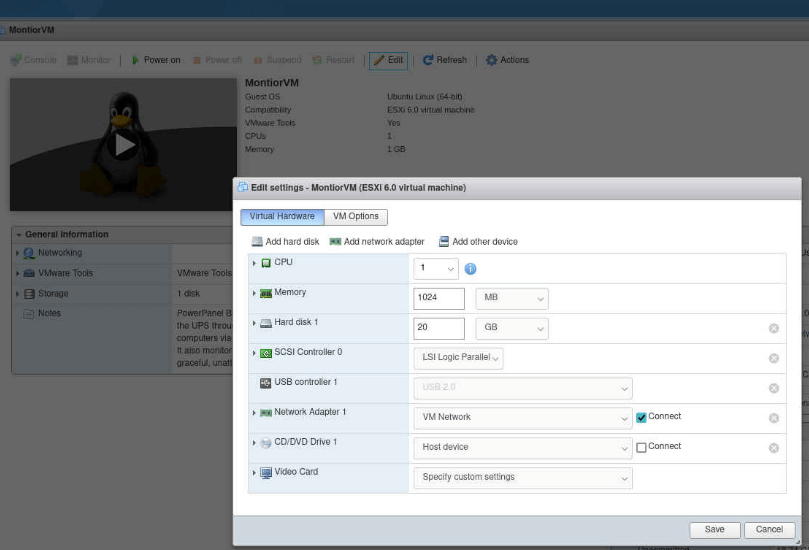
-
Turn on the virtual machine.
Take note of the IP address automatically assigned by ESXi.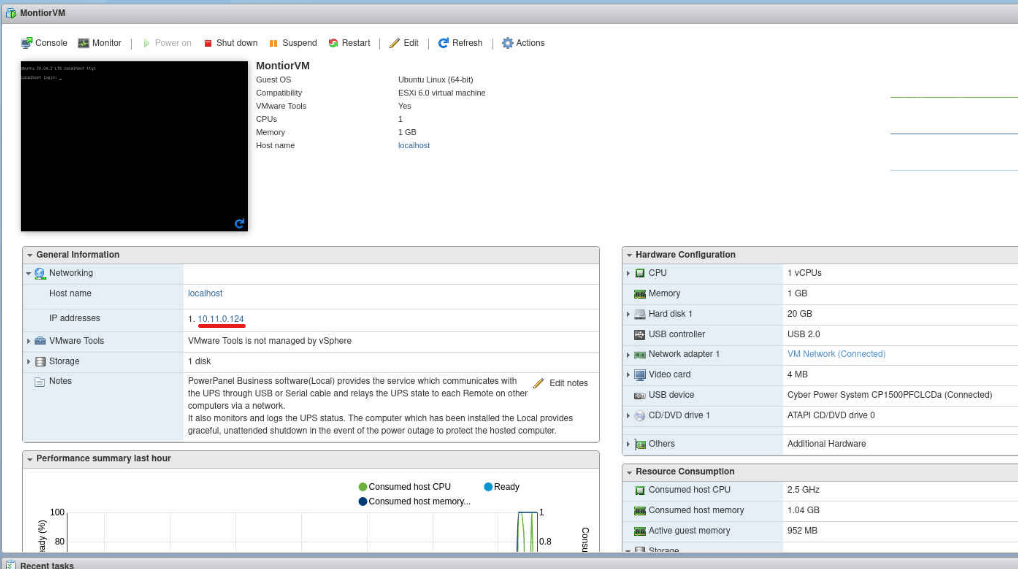
-
Access the web GUI.
Open a browser and enter the IP address with the correct port (e.g.,http://10.11.0.124:3052).
Refer to the manufacturer’s manual to determine the correct port.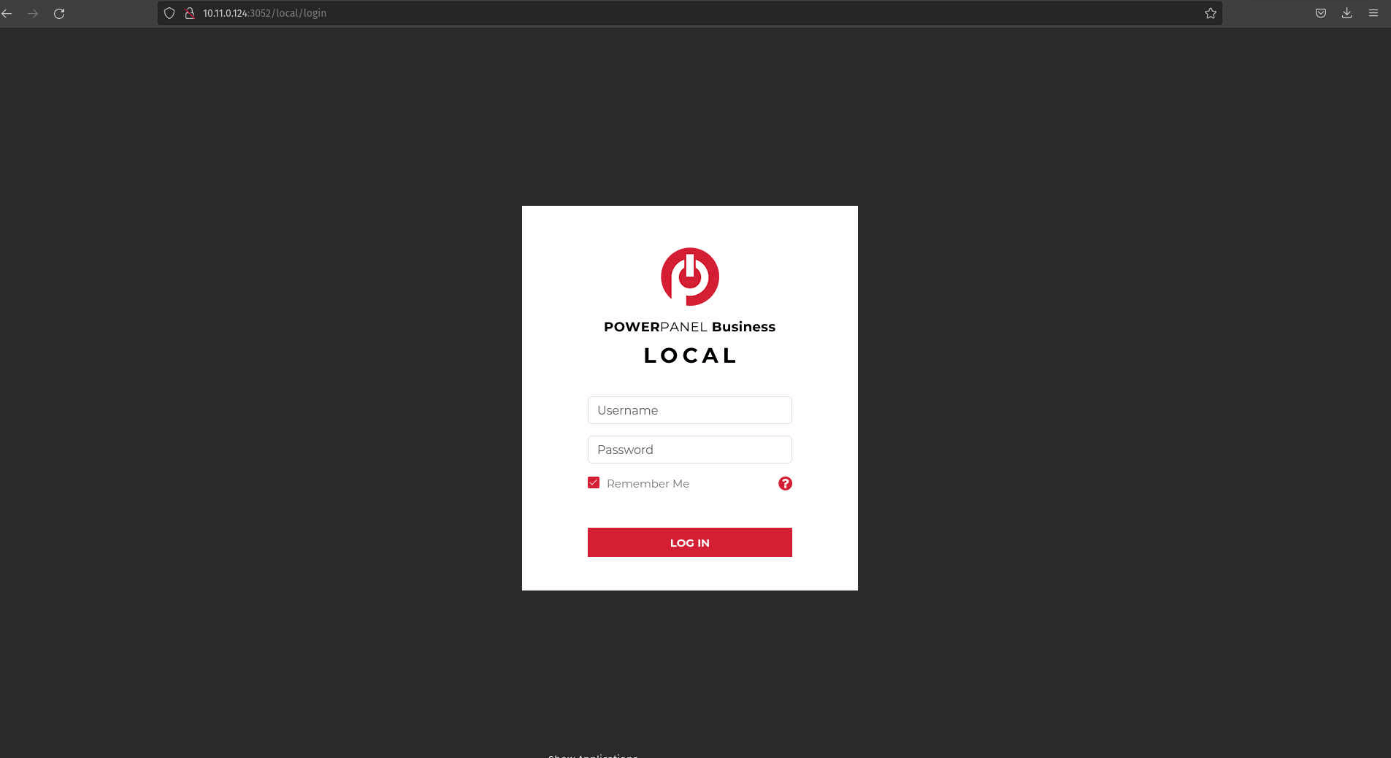

-
Change the default password (mandatory).
After clicking Save, you will be logged out and must log in again with your new password.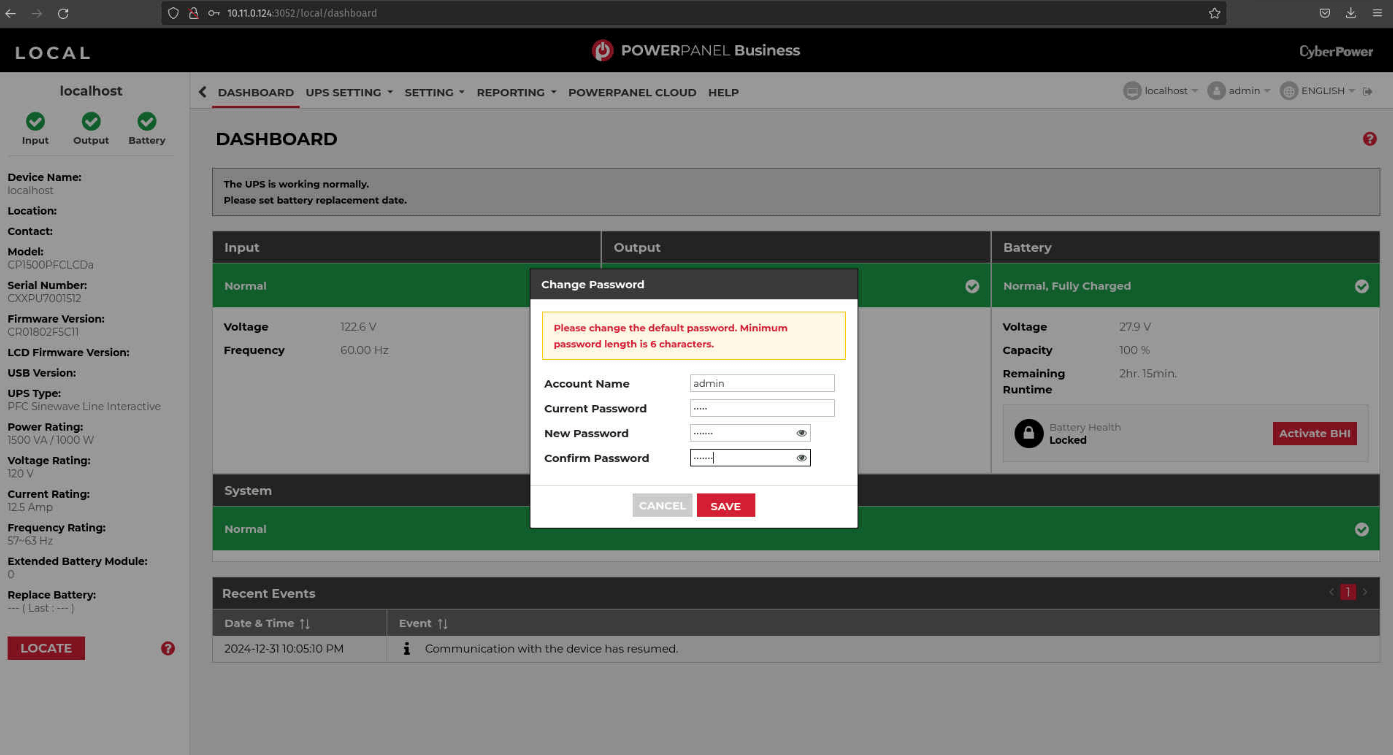

-
After logging in, you'll see complete UPS information on the left-hand side.
-
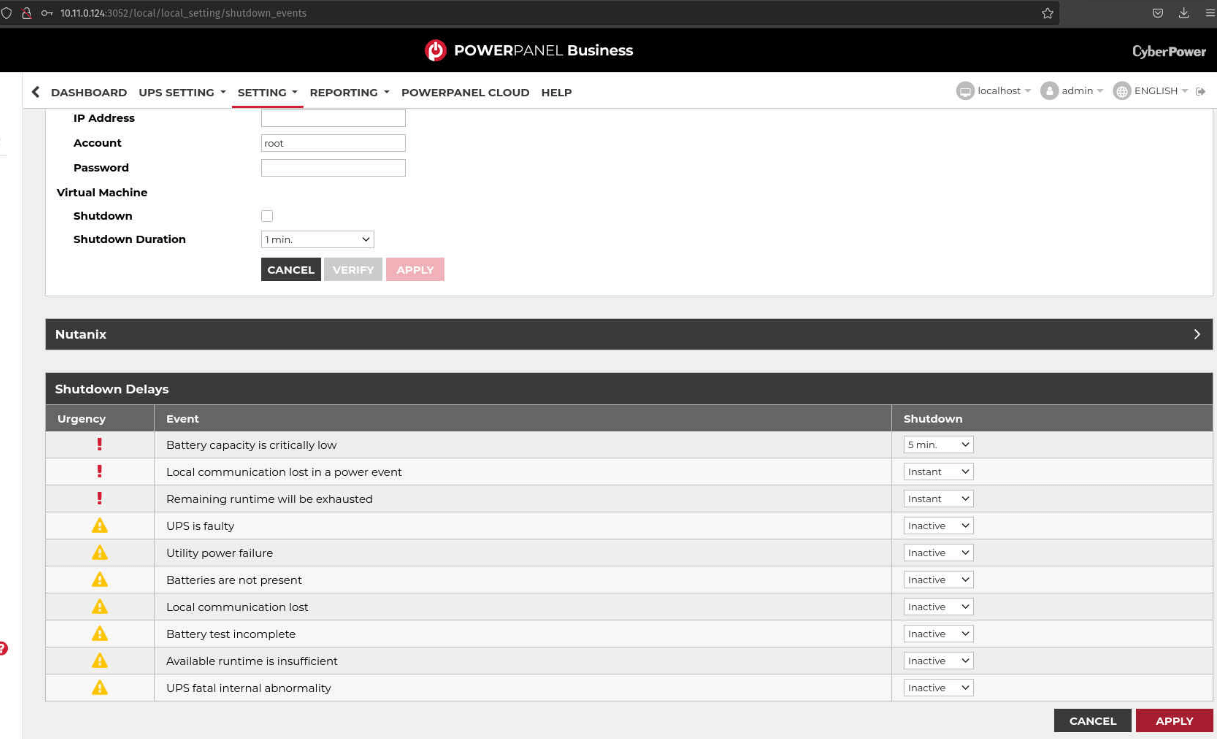
Configure shutdown settings.
Navigate to Settings > Shutdown Events.
- Verify connectivity to your ESXi server.
- Set your preferred shutdown duration and delay.
-
Click Apply to save your shutdown configurations.
Procedures for Proxmox
-
In Proxmox, select your PVE node → Shell.
Or use your favorite remote connection tool to connect to your proxmox server. List all USB ports by typing
lsusb
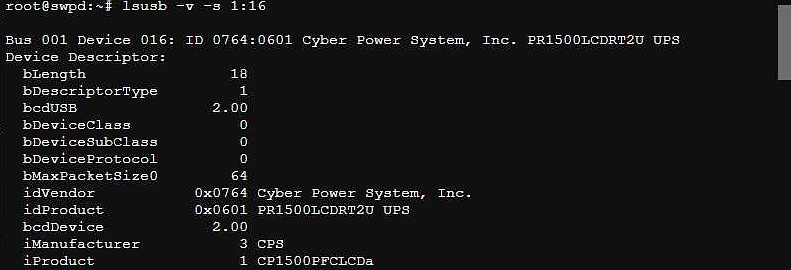
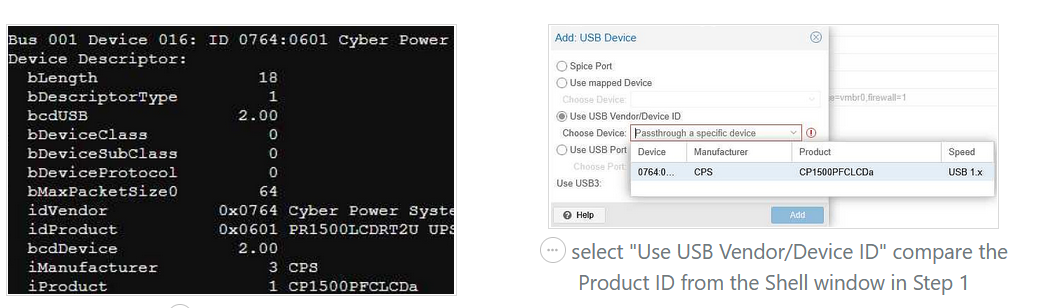
Note the Bus and Device of your UPS device.List the USB port details: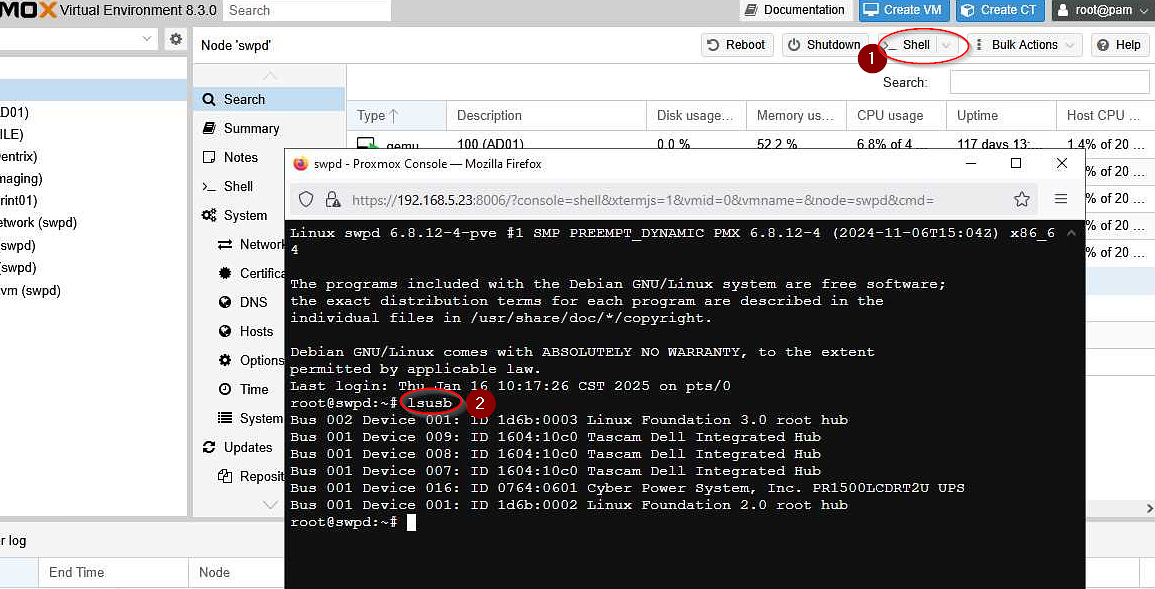
lsusb -v -s [bus]:[device]
in my case
lsusb -v -s 1:16
-
We have to download PowerPanel Business
We are going to download PowerPanel Business – Virtual Machine (Local) since the UPS is connected directly to our bare-metal server.
 Extract the zipped file to reveal its contents.
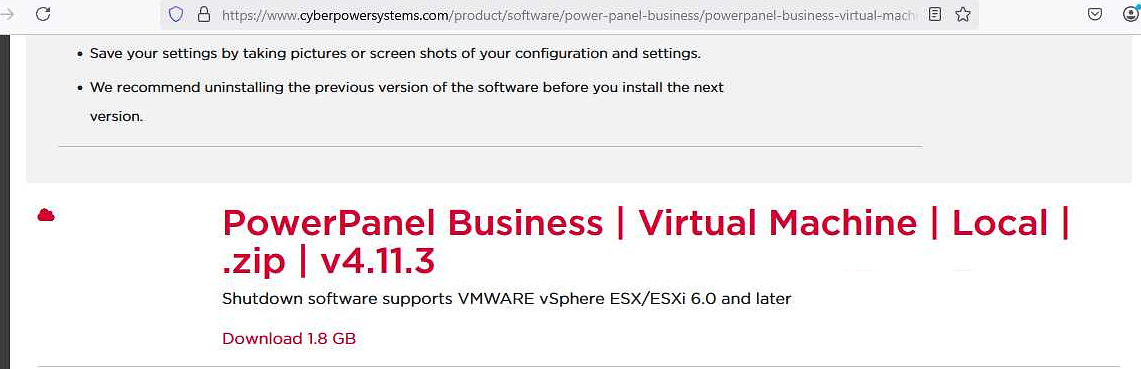
We will need the .OVF and .VMDK files later.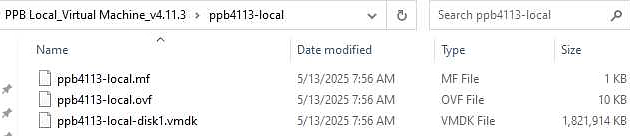
- We are going to upload the .OVF and .VMDK files to our Proxmox server using SFTP or FTP software such as FileZilla, WinSCP, etc. In our case, we will use WinSCP. Once downloaded, install it to your device.
-
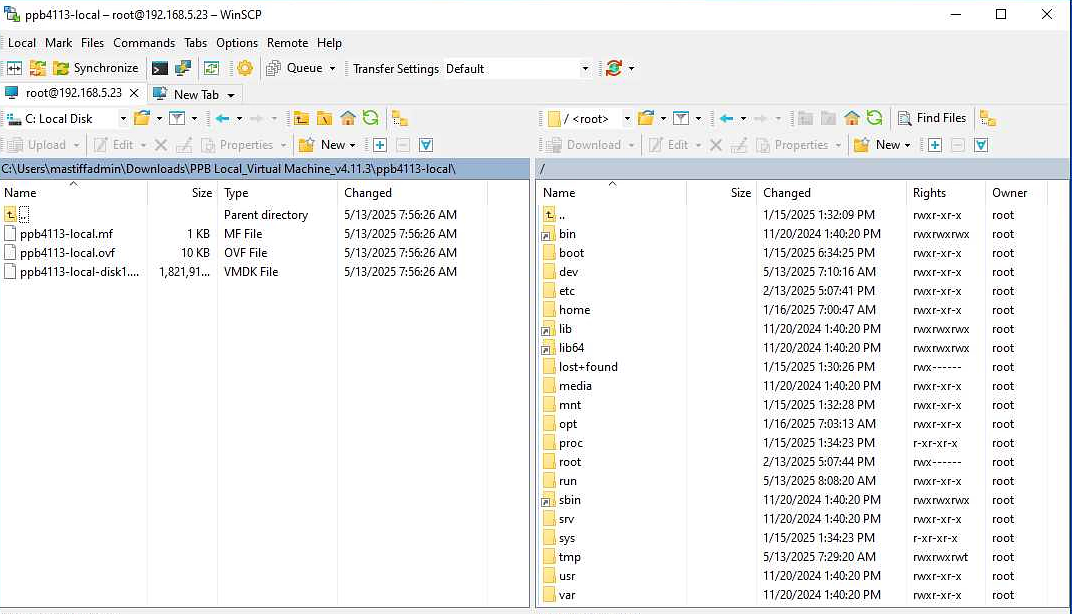
Upload the .OVF and .VMDK files to the Proxmox server.
Using WinSCP, log in to your Proxmox server and proceed with the upload.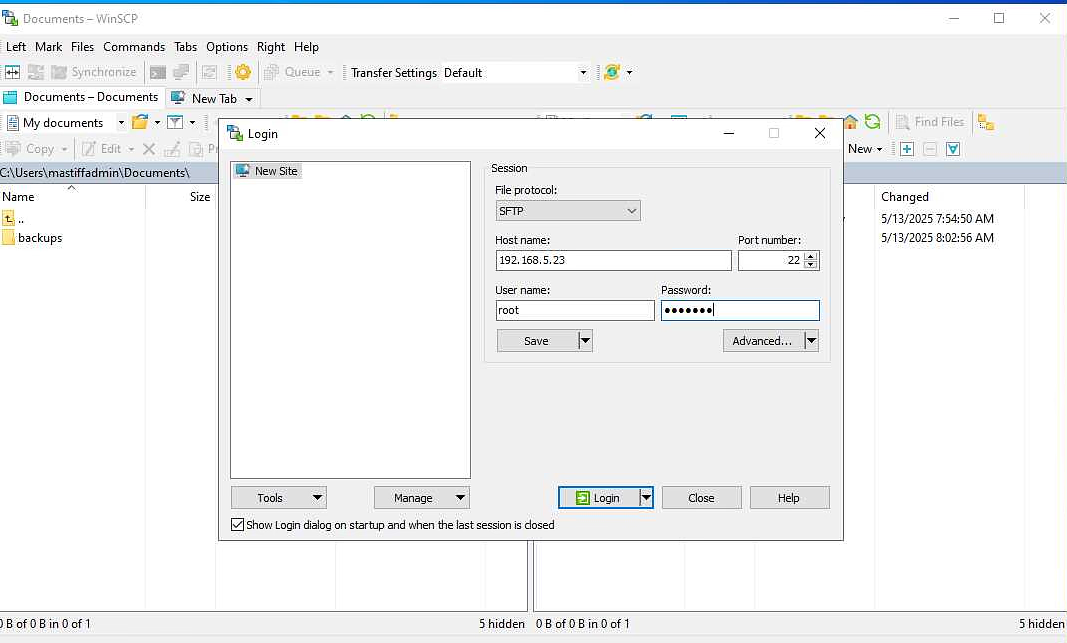
-
Create the virtual machine for CyberPower PowerPanel.
In the Proxmox shell, navigate to the directory where you uploaded the .OVF and .VMDK files.We are now ready to create the virtual machine using the following command format: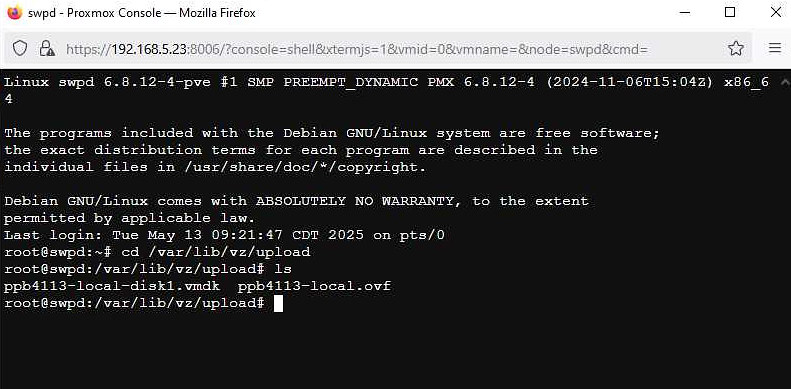
qm importovf <proxmox ID> <ovf source> <storage> --format <format>- qm – Command that creates/restores a VM
- importovf – Imports virtual machines from an OVF (Open Virtualization Format) or OVA (Open Virtual Appliance) package into a hypervisor or virtualization platform
- proxmox ID – Assigns a unique Proxmox ID for the virtual machine
- ovf source – The path to the OVF source file
- storage – Specifies the storage where the virtual machine will reside
- --format – Sets the disk format (e.g., raw, qcow2, vmdk)
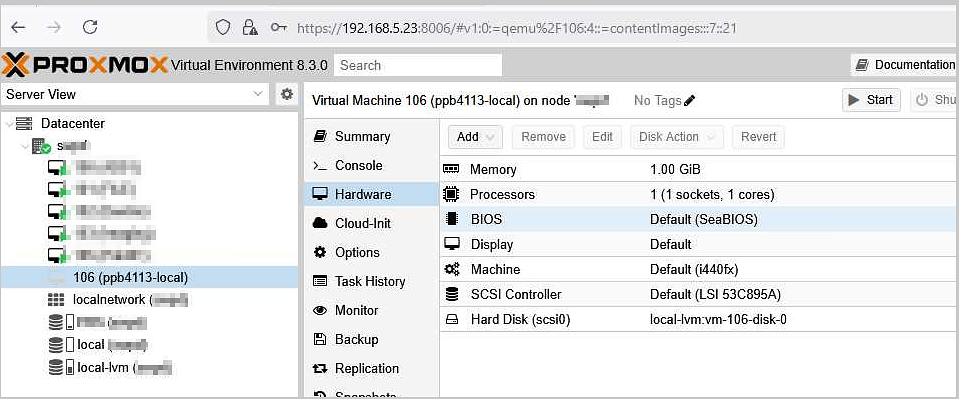
qm importovf 106 ppb4113-local.ovf local-lvm --format rawUpon entering the command, the system will display the progress of the VM creation. Wait until it reaches 100%.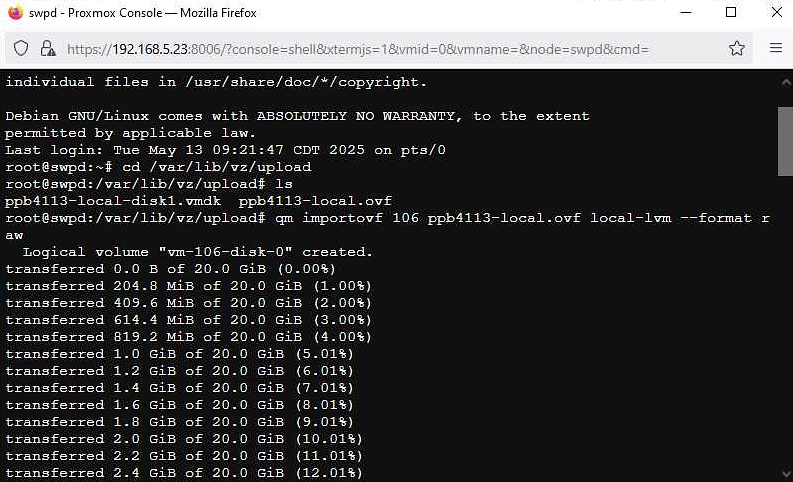
-
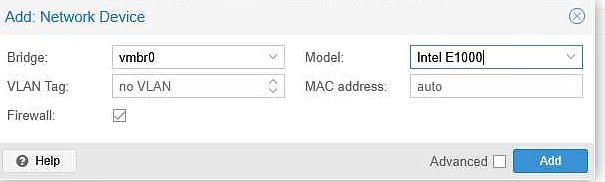
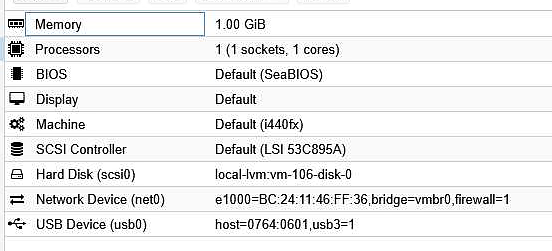
Add a virtual network card and connect the UPS to the VM
The virtual machine is not complete yet because we still need to add a virtual network card. This will allow us to assign an IP address later and connect the UPS to the VM properly.

 Check the Manufacturer and Product ID, then select Add.
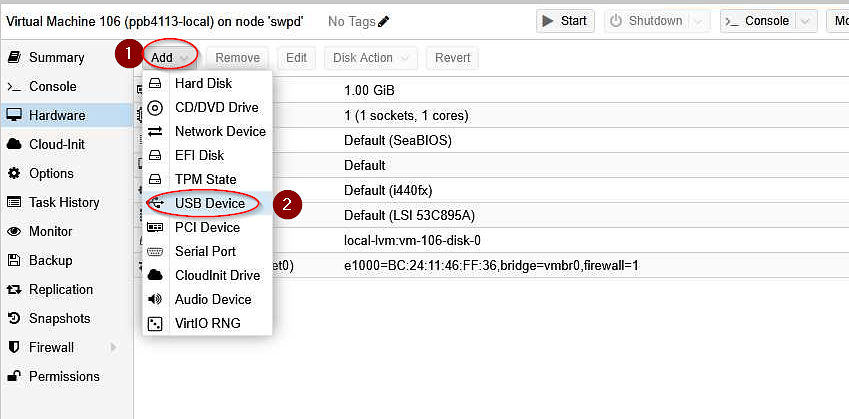
-
Assign an IP address to PowerPanel
Turn on the newly created virtual machine.Since we don't have a working IP address yet, we will assign one using DHCP.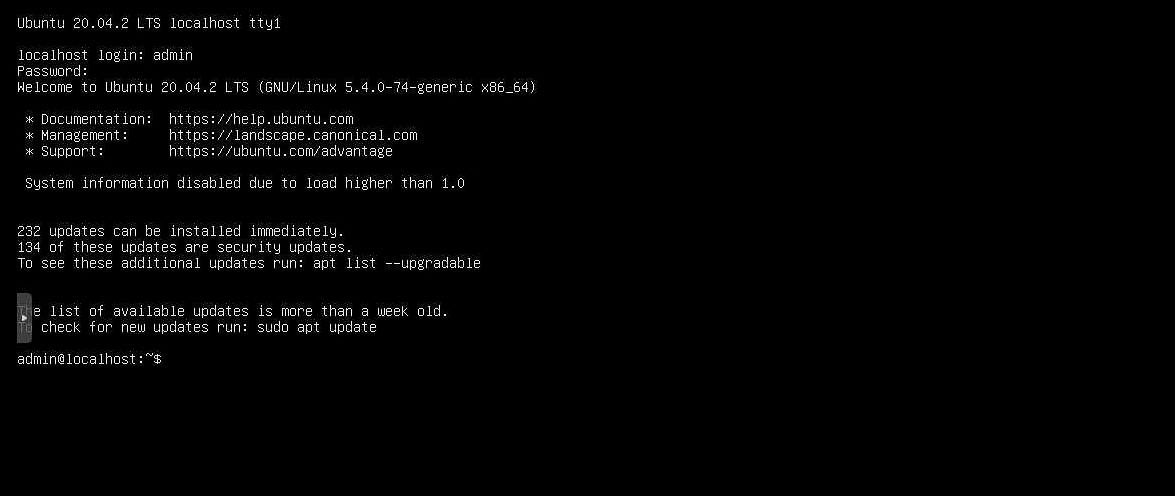
First, type ip add to identify the label of the attached network card.Next, we will activate
ens18by typing the following command:
sudo ip link set dev ens18 upWe will assign an IP address automatically using the following command: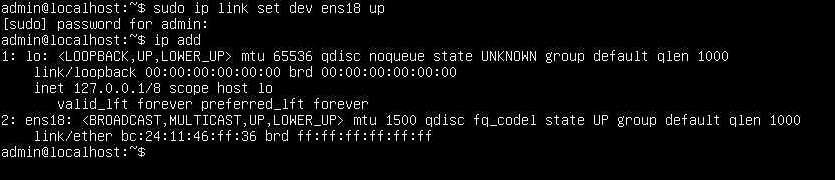
sudo dhclient -v ens18
Upon entering this command, the system will display the assigned IP address.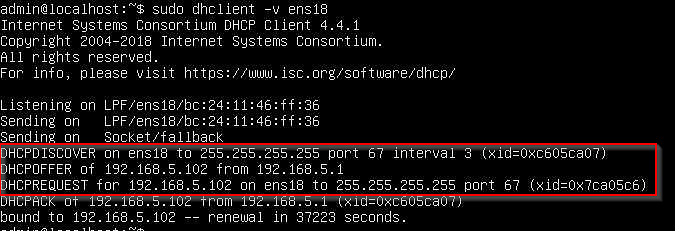
-
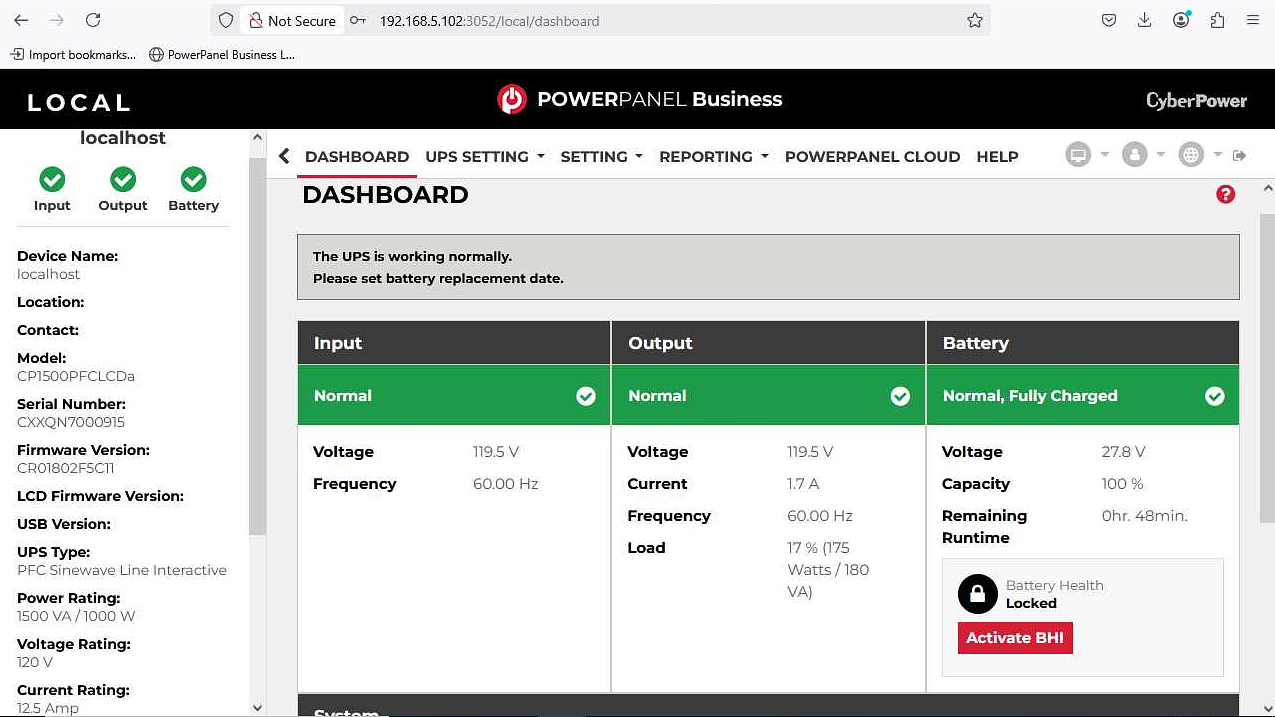
Access PowerPanel using the assigned IP address and port 3052
Using a browser, we can now access PowerPanel by entering the assigned IP address followed by the port number.
In our case, it should be:192.168.5.102:3052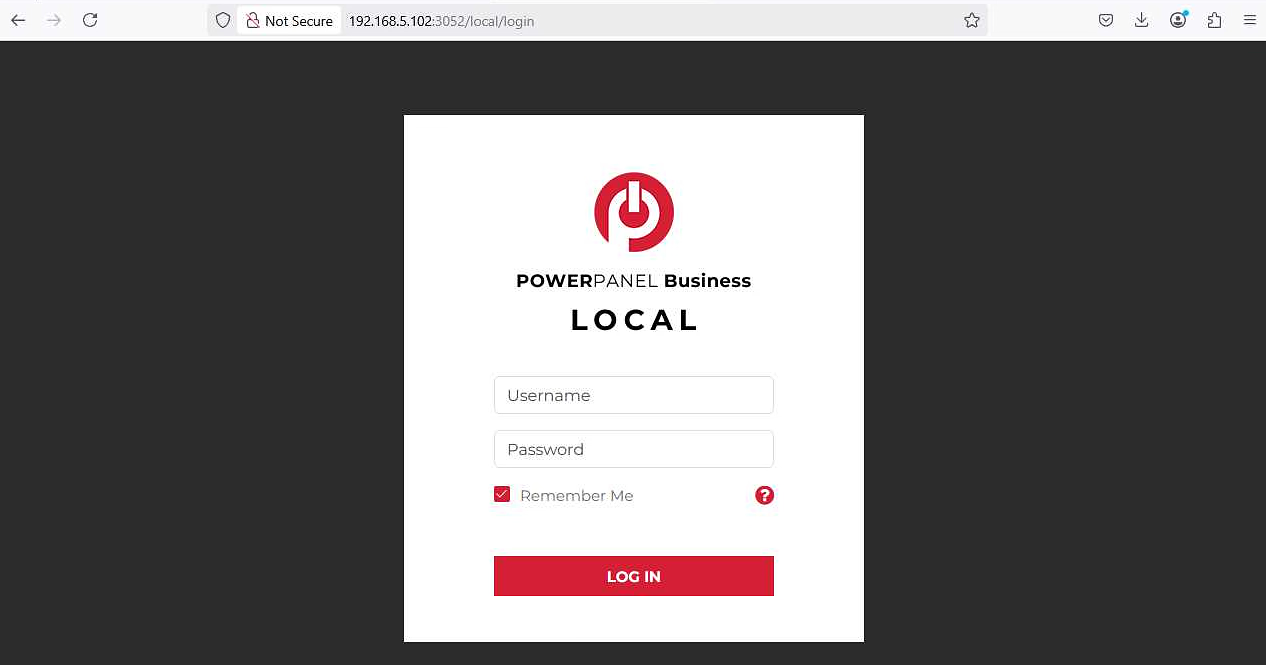
-
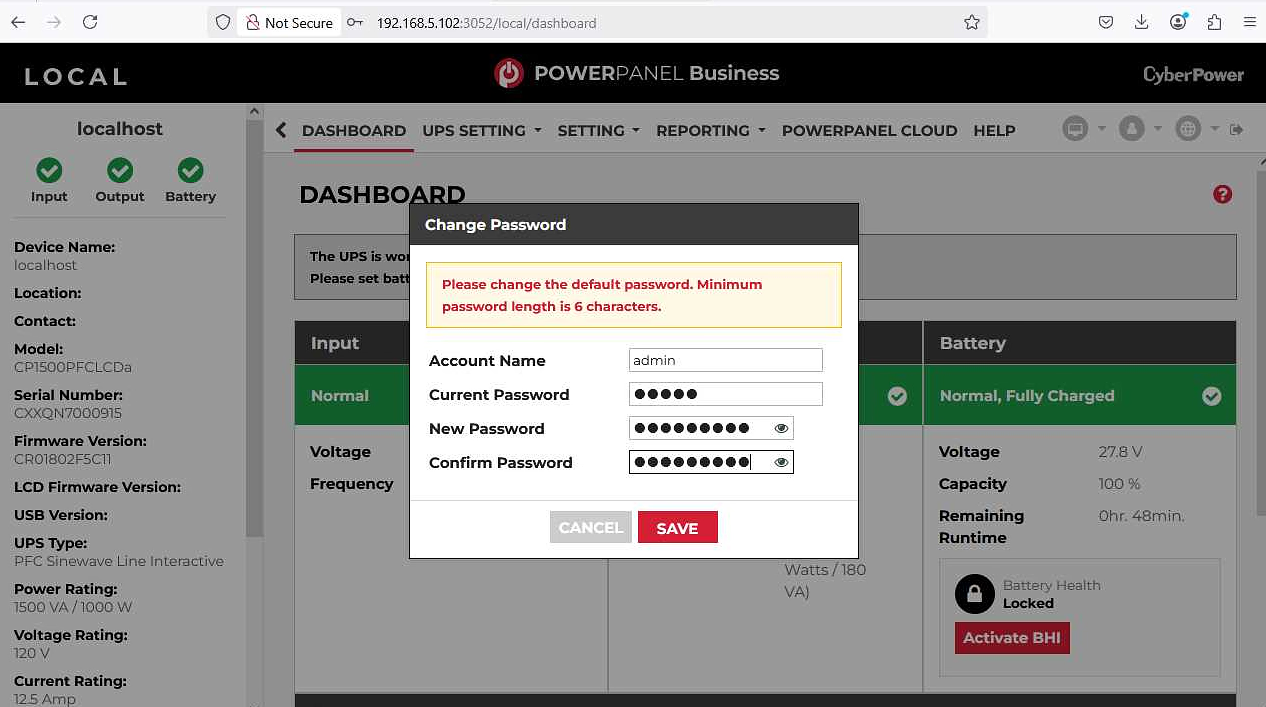
Upon logging in, the system will prompt you to change the password.
Changing the password is mandatory.